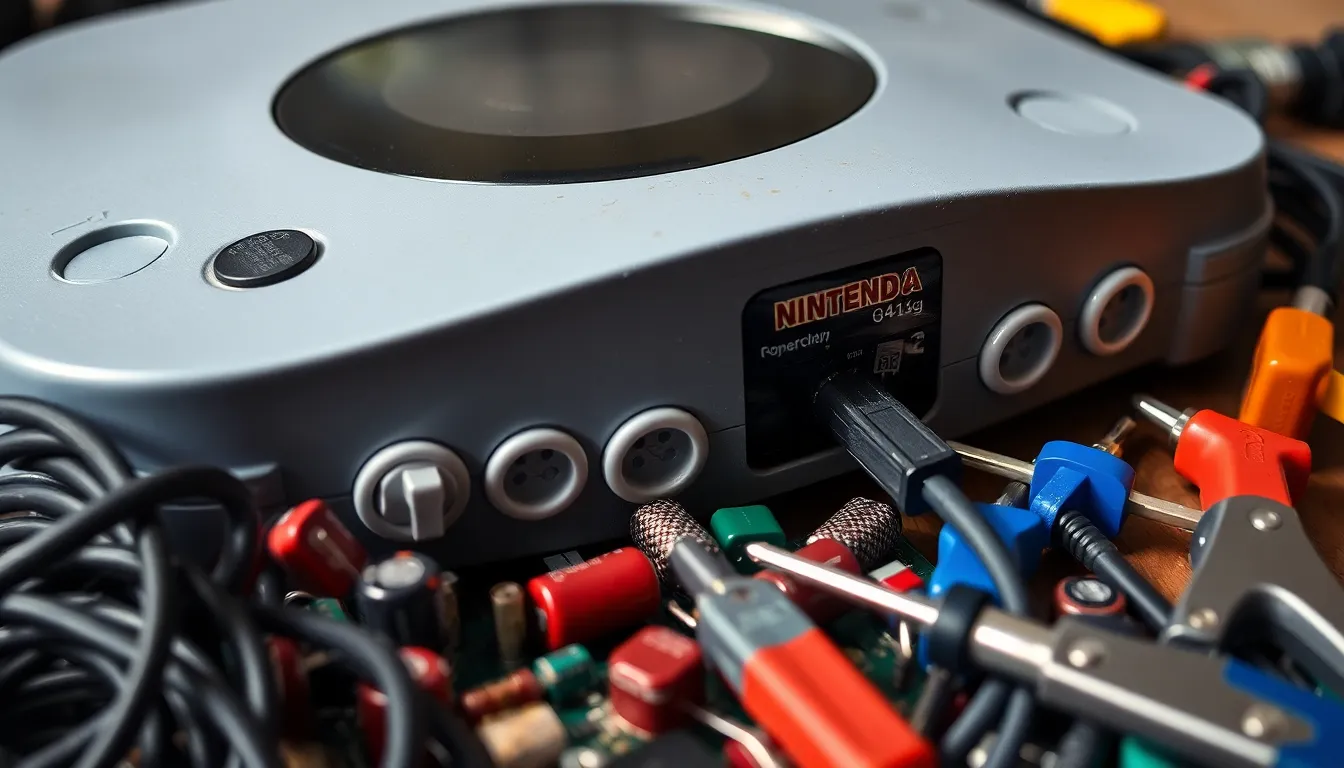
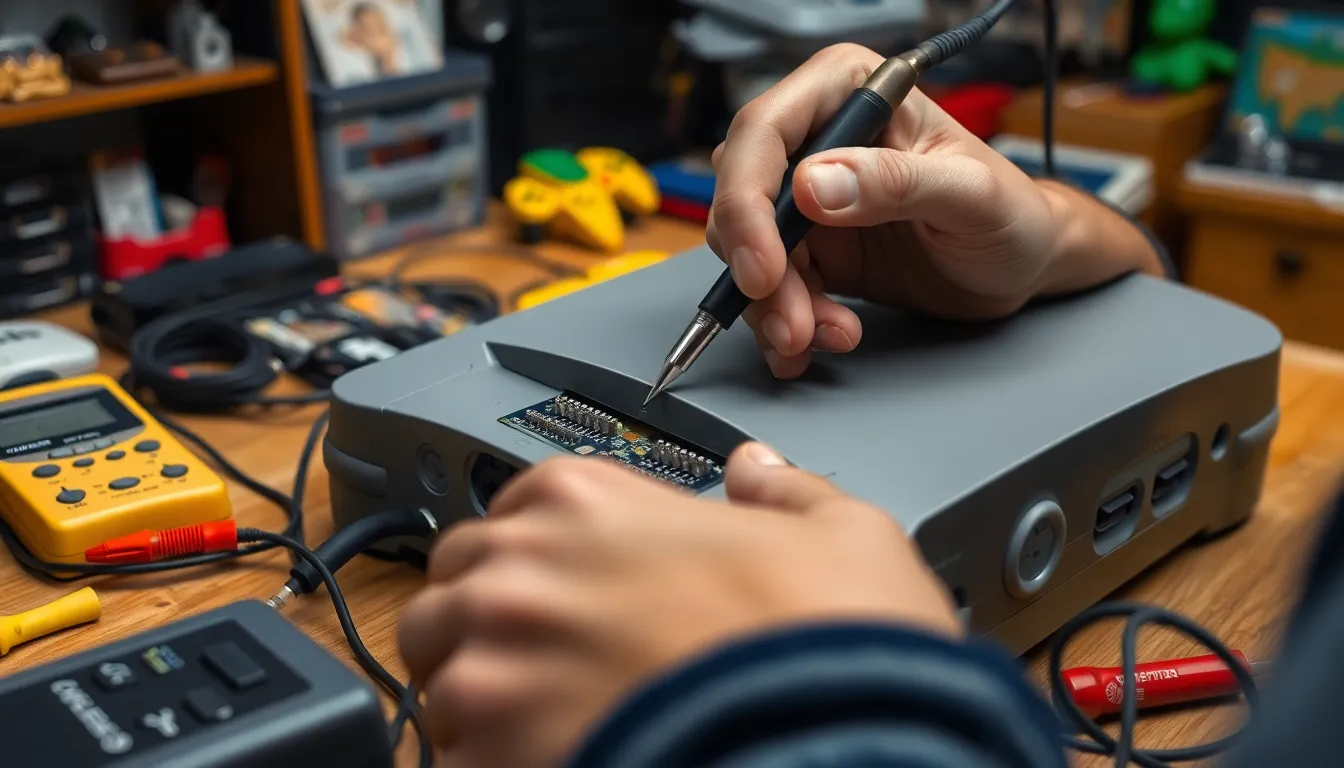
The Nintendo 64 holds a special place in the hearts of gamers everywhere, but like all good things, it can age and encounter a few hiccups. One of the most common issues? Failing capacitors that can turn your beloved console into a nostalgic paperweight. But fear not! Replacing those pesky capacitors isn’t just a task for tech wizards; it’s an adventure waiting to happen for any DIY enthusiast.
Table of Contents
ToggleOverview of N64 Capacitor Replacement
Nintendo 64 consoles frequently experience capacitor failure due to age and heat. This failure leads to various issues, like graphical glitches or power problems. Capacitor replacement becomes essential for restoring the console’s functionality.
Replacing capacitors involves several important steps. Gathering the necessary tools, including a soldering iron, solder, and a multimeter, ensures a smooth process. Identifying the parts that require replacement is a critical first step. The most common capacitors needing replacement are the electrolytic capacitors.
Knowing which capacitors to buy simplifies the replacement process. Familiar brands that offer high-quality replacements include Panasonic, Nichicon, and Rubycon. Options vary in capacitance and voltage ratings, so checking the specifications is vital.
Removing the old capacitors requires care. Using the soldering iron skillfully helps detach each capacitor from the circuit board without damaging surrounding components. Applying new solder during installation guarantees solid connections.
Testing the console after replacement is crucial. It verifies that the new capacitors function properly and that the console operates as intended. Players can enjoy a revitalized gaming experience, preventing further failures in the future.
Following these steps enables DIY enthusiasts to tackle N64 capacitor replacement with confidence. This rewarding project allows gamers to preserve their cherished memories while rejuvenating their favorite console.
Importance of Capacitor Replacement

Replacing capacitors in the Nintendo 64 is crucial for maintaining console functionality. Old capacitors lead to various performance issues that can significantly impact the gaming experience.
Common Issues with Old Capacitors
Old capacitors typically degrade over time, resulting in problems. Gamers often face graphical glitches, power failures, and audio distortions due to capacitor failure. Heat, along with age, accelerates degradation. In many cases, console owners notice a decrease in video quality, making beloved games difficult to enjoy. Repairing these issues becomes essential for preserving the nostalgic gaming experience.
Benefits of Replacement
Replacing faulty capacitors offers multiple advantages. Enhanced performance restores the console’s original capabilities, allowing gamers to experience graphics and sound as intended. It prevents future failures, increasing the lifespan of the console. Additionally, successful capacitor replacement can save money compared to purchasing a new console. Players gain peace of mind knowing they are preserving cherished memories tied to classic games.
Tools Required for N64 Capacitor Replacement
Replacing capacitors in an N64 requires a specific set of tools. Collecting these tools ensures a smoother process with reliable results.
Essential Tools
A soldering iron is a must for this project. This tool allows precise removal and installation of capacitors. A multimeter helps diagnose any underlying issues before replacement. Using this tool ensures accurate readings and appropriate replacements. Tweezers simplify handling small components, especially during installation. This small tool maximizes control and reduces accidental slips. Quality replacement capacitors from brands like Panasonic, Nichicon, and Rubycon are essential for reliable performance. Opting for these ensures lasting repairs.
Optional Tools
A desoldering pump can make the removal of old solder easier. This tool improves efficiency and minimizes damage to the circuit board. Heat shrink tubing provides protection for soldered connections, enhancing durability. A small brush aids in cleaning the circuit board, ensuring no debris affects new components. For those seeking precision, a magnifying glass or jeweler’s loupe can enhance visibility during intricate work. Lastly, a work surface mat can keep tools organized and protect components during replacement. These optional tools can facilitate a better experience for DIY enthusiasts.
Step-by-Step Guide to N64 Capacitor Replacement
Replacing capacitors in an N64 console enhances its performance. This guide provides clear steps to accomplish the task effectively.
Preparing the Console
Begin by unplugging the N64 and ensuring a clean workspace. Remove any screws from the console’s bottom to access the internal components. Next, carefully lift off the cover to expose the circuit board. Set aside the screws in a safe place. Use a multimeter to test for any retained charge within the capacitors before proceeding. This precaution prevents any electrical shock during the replacement process. Wearing an anti-static wrist strap can protect the console and components from static damage.
Removing Old Capacitors
Identify and mark the locations of the old capacitors on the board. Desoldering is the method to remove them, so heat the soldering iron and apply it to the capacitor leads. This step melts the solder, allowing for easy removal. Pull out the leads gently using tweezers while still applying heat. Pay attention to any accompanying warning labels on the circuit board indicating capacitor orientation. Cleaning the pads with solder wick ensures they’re ready for the new capacitors. Proper removal of old components avoids damage to the board.
Installing New Capacitors
Select high-quality replacement capacitors from trusted brands. Align each new capacitor correctly, ensuring that the polarity matches the markings on the board. Insert the leads through the pads and bend them slightly to hold the capacitors in place. Next, solder the leads to secure them firmly. It’s important to avoid overheating, as this can damage the new components. Trim excess leads to prevent shorts. Lastly, recheck all connections for stability and consistency before reassembling the console. This careful installation guarantees reliable performance after replacement.
Tips for Successful Replacement
Choosing quality capacitors plays a crucial role in ensuring lasting performance. Select components from reputable brands like Panasonic, Nichicon, or Rubycon to maintain reliability. Preparing tools ahead of time creates an organized work environment. Gather a soldering iron, multimeter, tweezers, and optional items like a desoldering pump or magnifying glass for added precision.
Testing old capacitors before removal saves time and effort. Use a multimeter to confirm any failure. Wearing an anti-static wrist strap prevents accidental damage to sensitive components. It’s vital to follow safe practices throughout the entire process.
Desoldering the old capacitors requires a steady hand. Heat the solder joint carefully and remove the component once the solder melts. Cleaning the circuit pads afterward ensures solid connections for the new capacitors. Clean surfaces using isopropyl alcohol and a small brush for optimal results.
Aligning new capacitors correctly matters for proper functionality. Verify the polarity before soldering to avoid errors that can cause further issues. Solder each connection firmly to guarantee lasting durability. Avoid overheating components during this step, as excessive heat can lead to damage.
After installation, testing the console confirms successful replacement. Plug the Nintendo 64 back in and check for performance improvements. Observing restored video and audio quality validates the effort put into the project.
Incorporating these tips enhances the overall experience. It reinforces the advantages of DIY repairs and promotes confidence in tackling future projects.
Replacing capacitors in the Nintendo 64 is not just a repair task; it’s a chance to revive a beloved piece of gaming history. By following the outlined steps and using quality components, enthusiasts can restore their consoles to optimal performance. This DIY project not only enhances gameplay but also preserves cherished memories associated with classic titles.
With the right tools and a careful approach, anyone can tackle this project confidently. The satisfaction of successfully replacing capacitors reinforces the value of hands-on repairs and encourages gamers to keep their consoles alive for years to come. Embracing this challenge ensures that the joy of the Nintendo 64 continues for both new and nostalgic players alike.


